How to create your personal Scheduling Link?

Sara N
Last Update há um ano
Have you ever spent more time scheduling a meeting than actually having the meeting itself? The back-and-forth emails, missed opportunities, and wasted time can be frustrating and significantly drain your productivity.
The Scheduling Link allows you to share your availability with others by providing them with a unique booking link. You can customize the available time slots and duration of the meeting. Once you've set up your availability, you can share the link with the person or people you want to meet. They can select a time that works best for them from the available time slots.
It enhances your professionalism. By providing a scheduling link, you show that you respect the other person's time and value efficiency. This can build stronger professional relationships and make you more reliable in the eyes of your colleagues or clients. It also increases your productivity. When scheduling a meeting becomes easier and more streamlined, you can focus on other important tasks and goals, leading to greater productivity and efficiency.
Here’s a step-by-step guide to creating and using your own Scheduling Link!
1. Go to your account dashboard and click “Create a scheduling link,” as shown below.

2. After you click the button, you’ll be redirected to the Scheduling Link creation page. It will look like the original meeting form but with some changes.

3. As seen in the image above, you can set a topic or title for your booking link. Add a description and even customize your booking page’s URL. If needed, add a location and/or video conferencing link.
4. Then you have the WHEN section. Here you can configure your link for any time in the future or set start and end dates for a more controlled scheduling period.
You can also choose the duration of each slot.

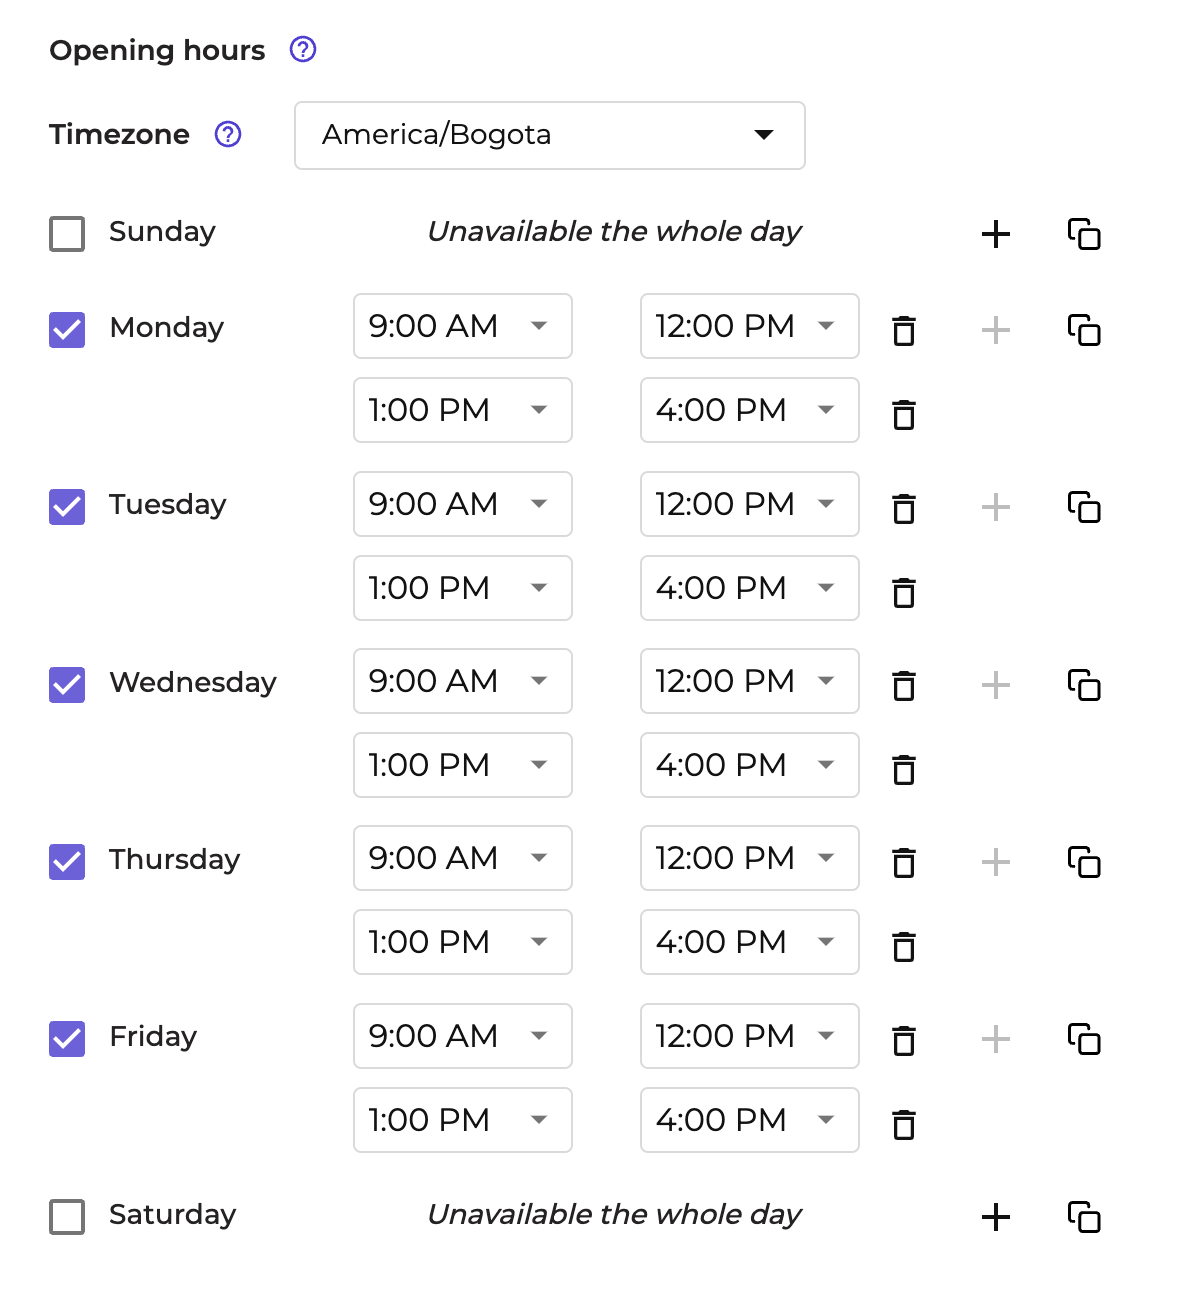
5. Then, you will see the opening hours section. Here you can add in a detailed way what times and dates you are available. See an example below:
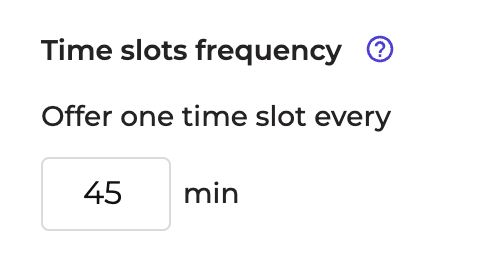
6. Time slot frequency - Splits your availability period into time slots of the same duration.
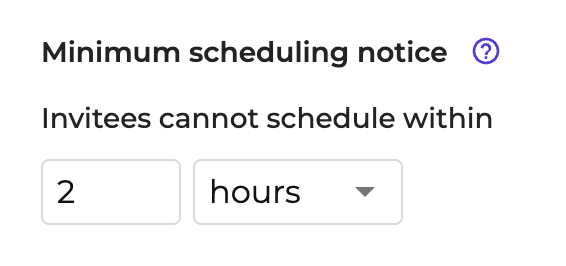
7. Minimum scheduling notice - Avoid short notice meetings
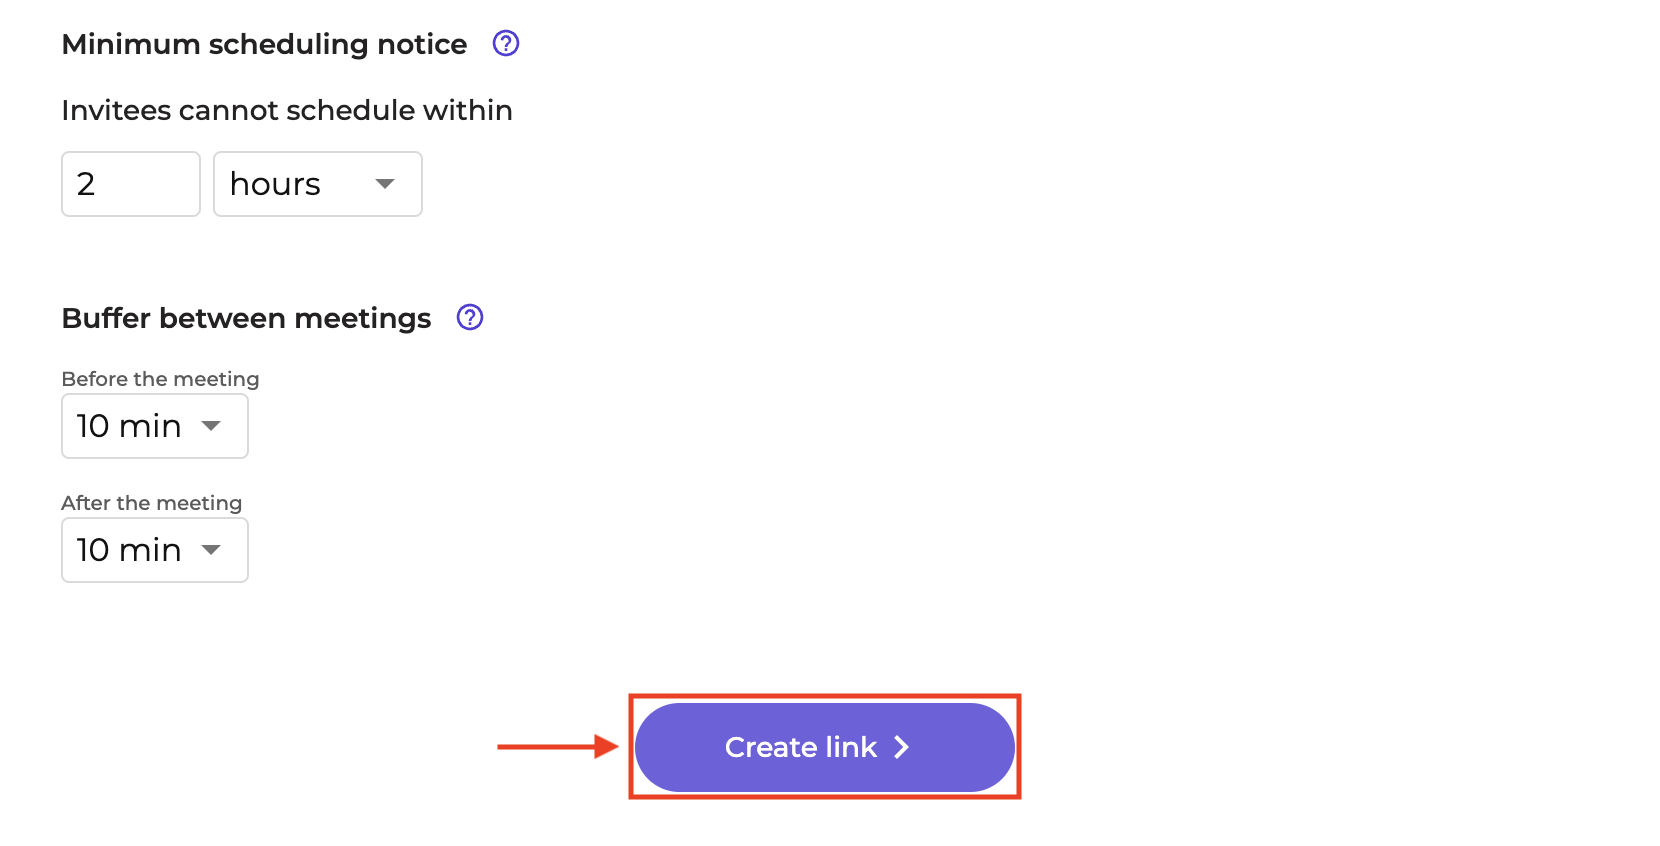
8. Buffer - Block time before & after each meeting to avoid back-to-back events.

9. Once you complete the form, click the “Create link” button.
10. You will see a Congratulations screen where you can copy the link to the Scheduling Link you just created, as shown below:
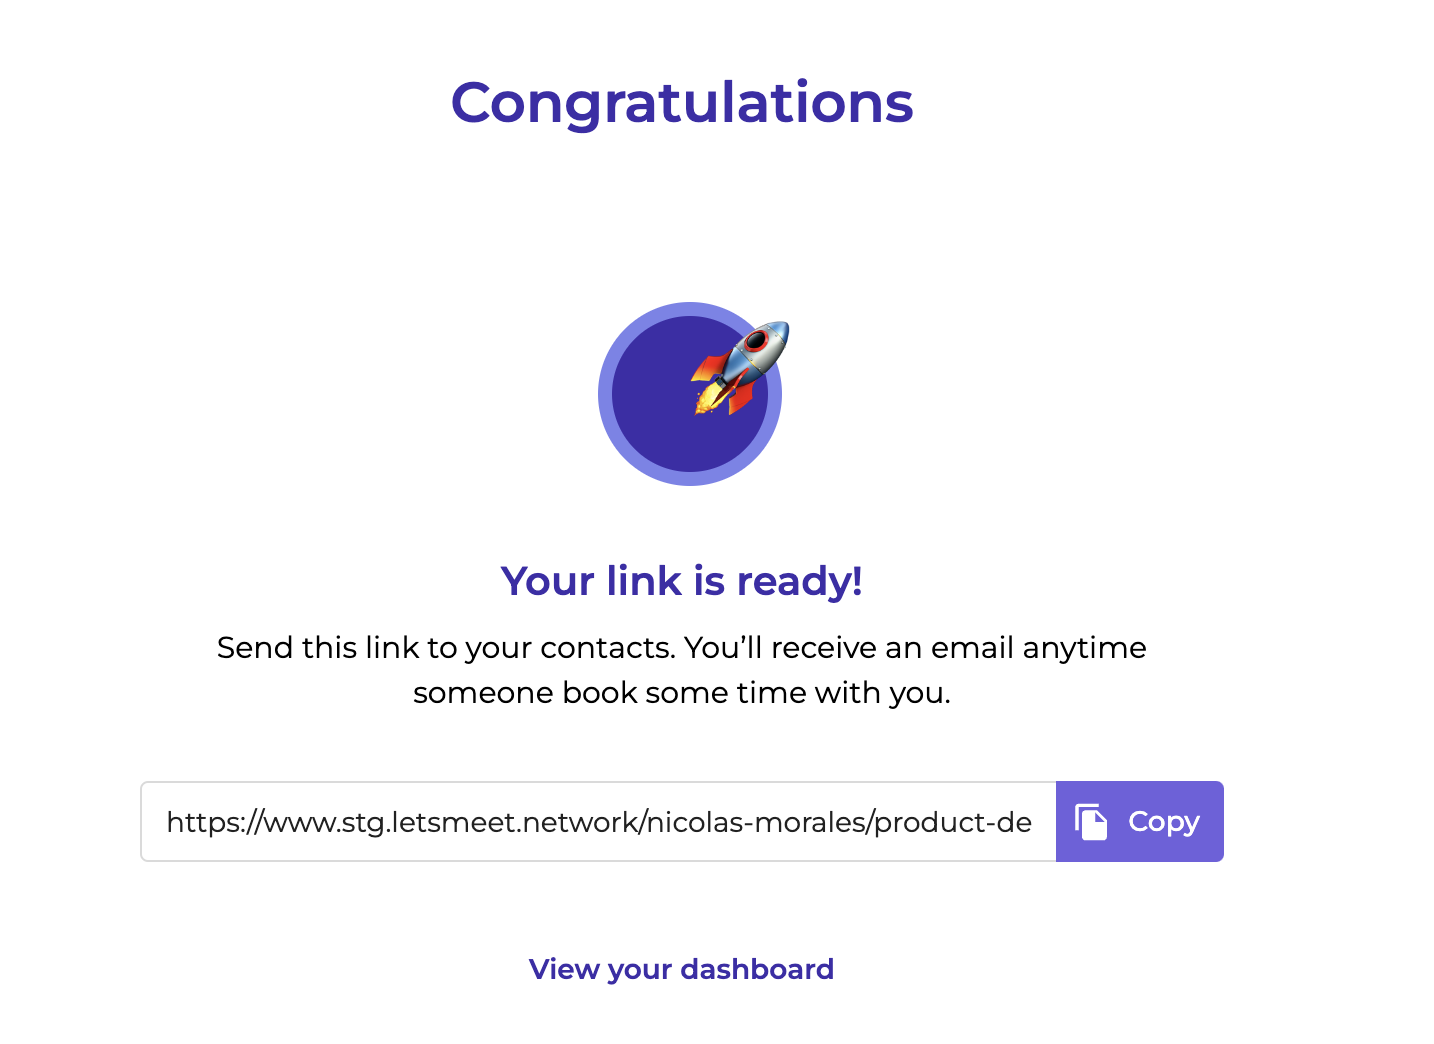
As you can see, the booking link creation process is simple and straightforward.
Below you can see a screenshot of what a booking page looks like.
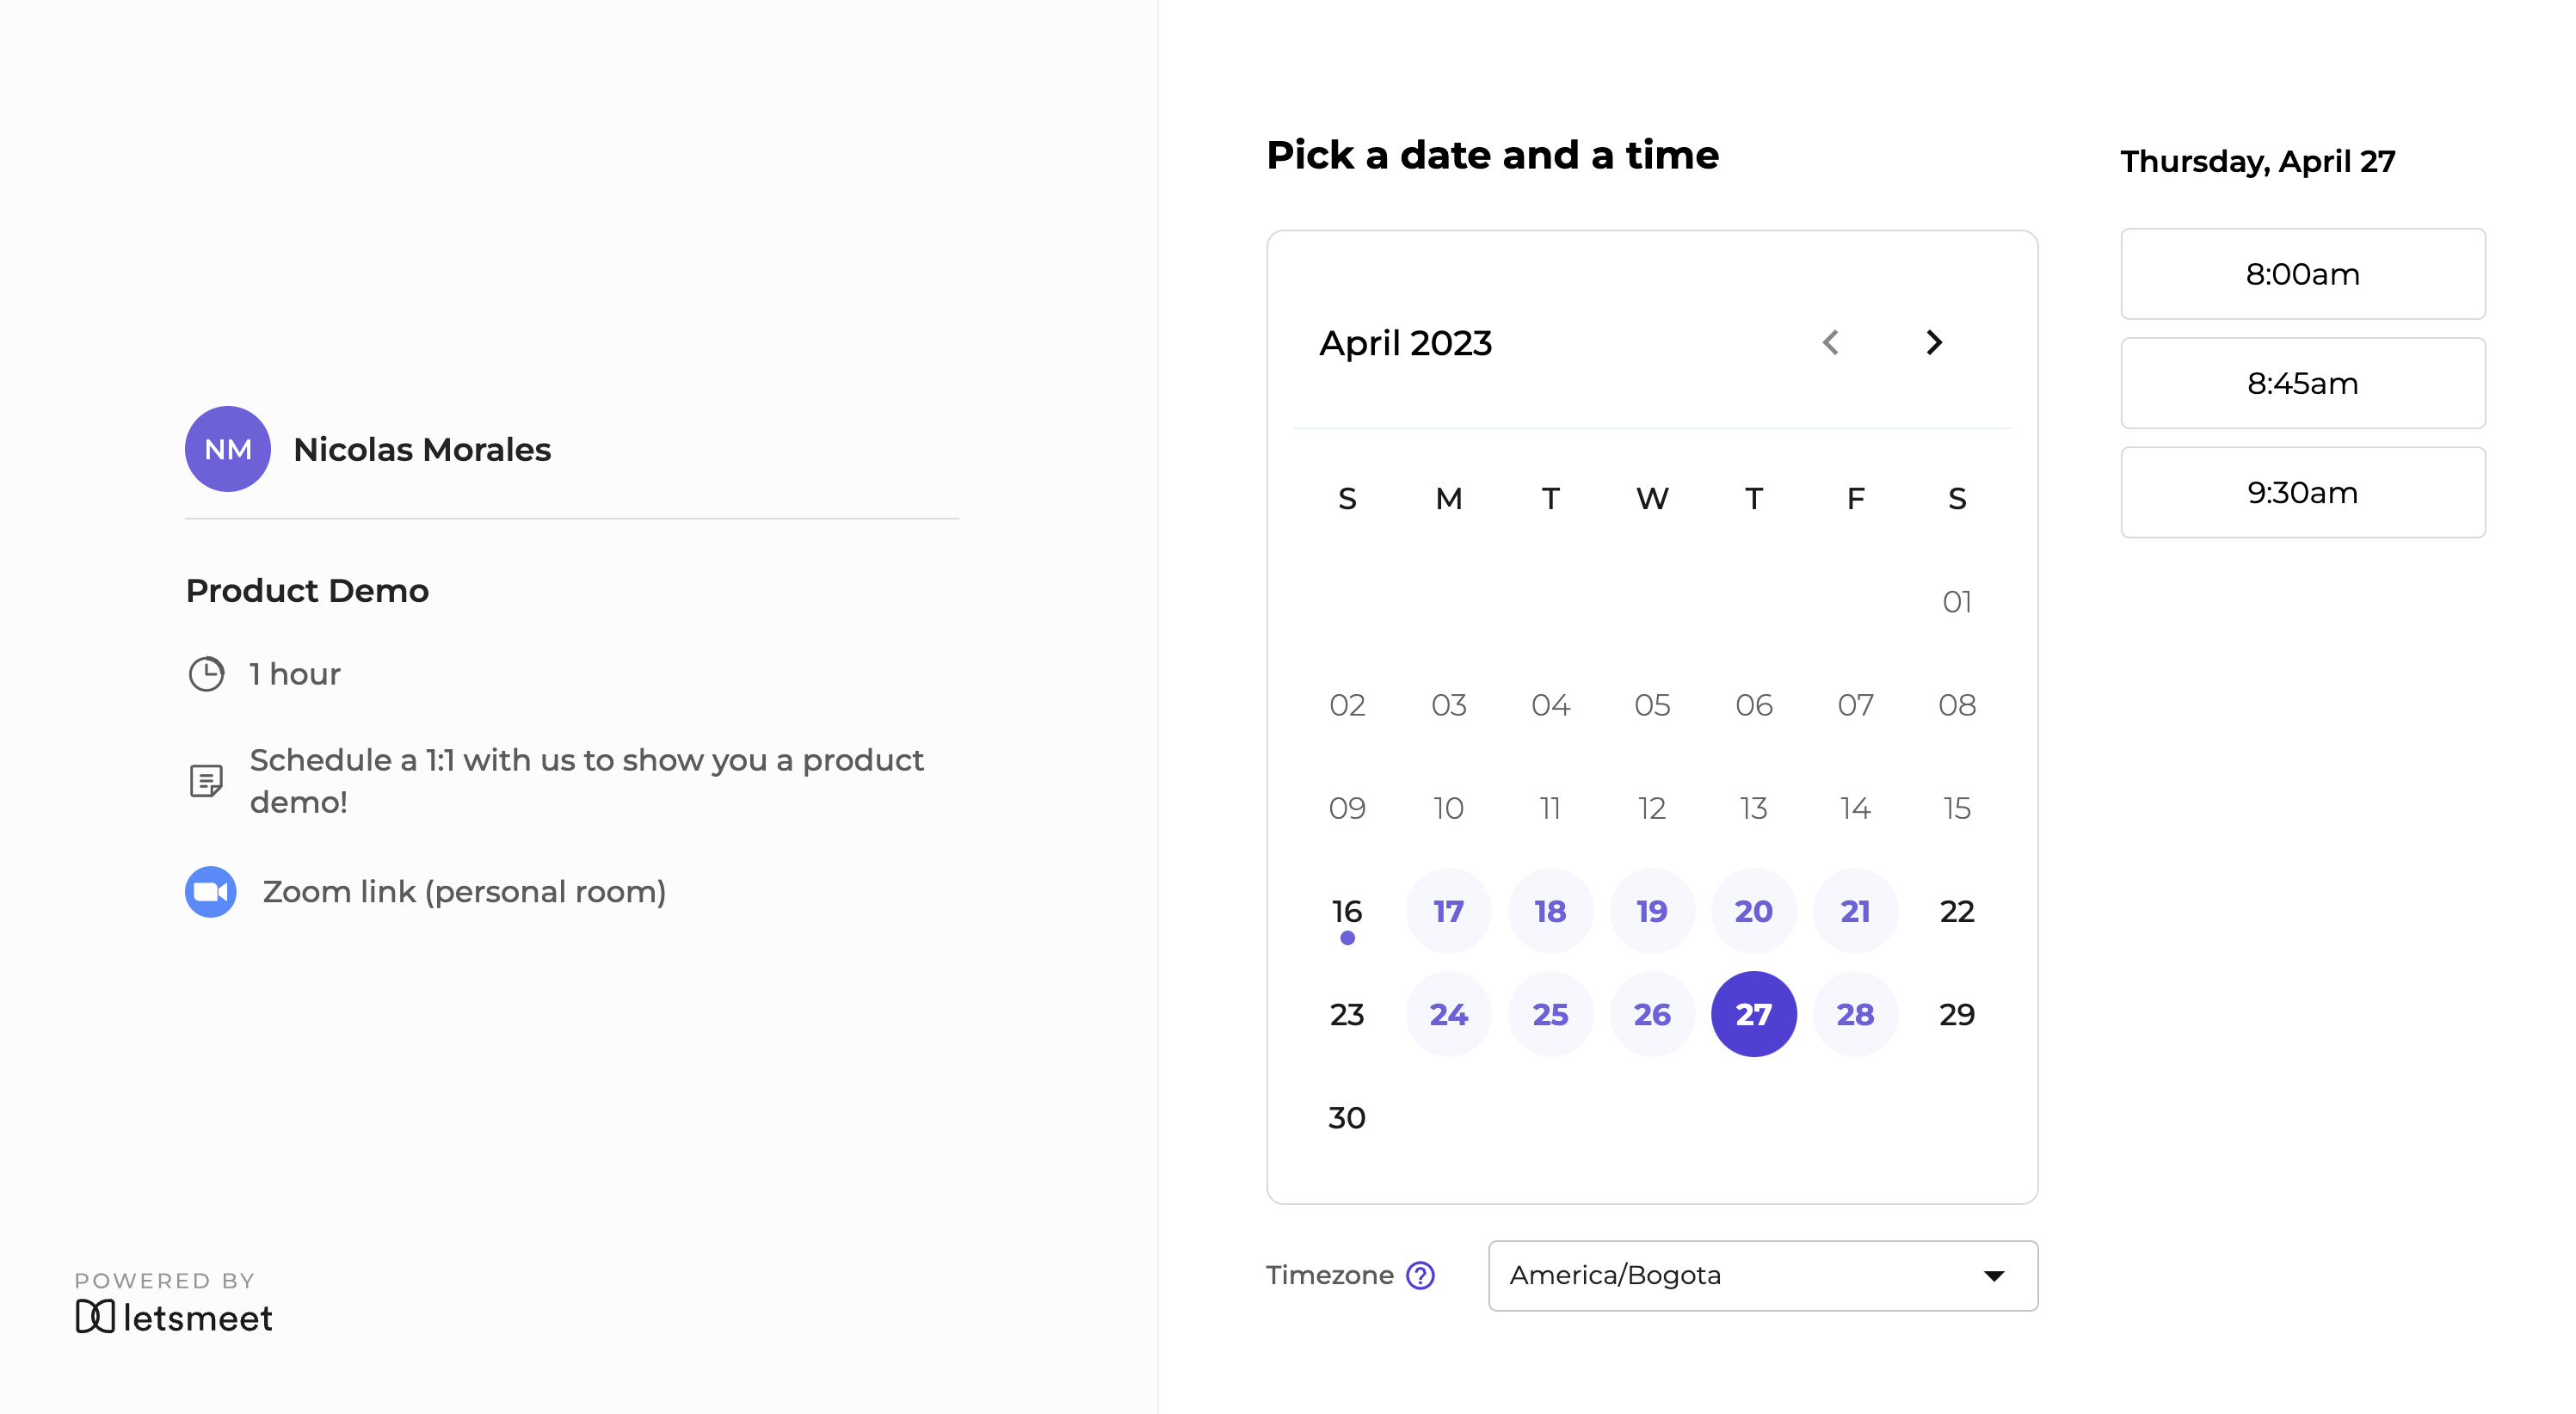
Try it out today and simplify your scheduling process!